Lights, Camera, Action: A Blogger’s Guide to DIY Video Creation
When you stumble upon a captivating video online, have you ever felt inspired to create your own engaging content? Crafting DIY videos can be a rewarding endeavor, allowing you to showcase your creativity and connect with your audience on a deeper level.
As a blogger venturing into the realm of video creation, there are vital aspects you need to consider to produce high-quality and captivating content. From choosing the right equipment to mastering filming techniques and editing like a pro, each step plays a crucial role in the success of your videos.

But how do you ensure your videos stand out amidst the vast sea of online content?
Key Takeaways
- Invest in quality equipment such as microphones and tripods for clear audio and stable shots.
- Carefully choose props and lighting to set the scene and enhance the theme of the video.
- Experiment with different lighting setups and camera angles to create the desired mood and visual interest.
- Master editing techniques like transitions and color grading to enhance the overall quality and appeal of DIY videos.

Equipment Essentials
When diving into the world of DIY video creation, having the right equipment is crucial for achieving professional-looking results. One key aspect to consider is sound quality. To ensure your audience hears you loud and clear, invest in a quality microphone. Whether you choose a shotgun, lapel, or USB microphone, make sure it suits your filming environment and provides crisp, clear audio.
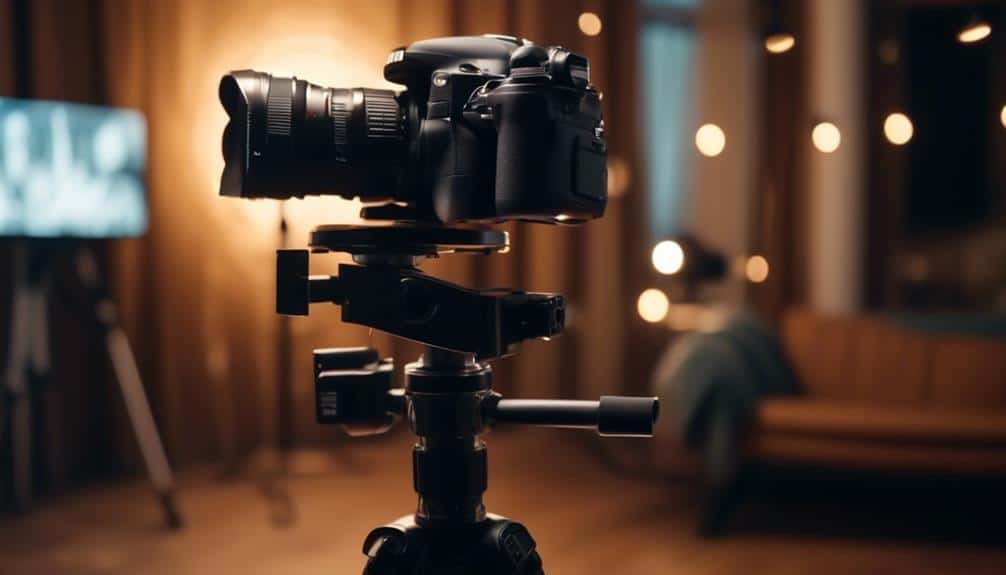
Another essential element is capturing creative angles. To keep your audience engaged, mix up your shots with a variety of angles. Consider using a tripod for stable shots, experimenting with overhead shots for a unique perspective, or incorporating panning shots to add movement to your videos. Don't be afraid to get creative and think outside the box when framing your shots; unique angles can make your content visually appealing and dynamic.
Setting the Scene
To create an immersive and captivating DIY video, the key to success lies in meticulously setting the scene. Creating ambiance is crucial in engaging your audience and conveying your message effectively. Start by selecting props that enhance the mood and theme of your video. Whether you're going for a cozy, rustic look or a sleek, modern vibe, props play a significant role in bringing your vision to life.
Consider the lighting in your space to create the right atmosphere. Natural light can work wonders for a bright and airy feel, while soft, warm lighting can add a touch of elegance and intimacy. Experiment with different lighting setups to find what works best for your video.
When selecting props, think about how each item contributes to the overall aesthetic. Choose pieces that complement your theme without overwhelming the scene. Remember, less is often more when it comes to prop selection. By carefully curating your props and creating the perfect ambiance, you'll set the stage for a visually stunning DIY video that captivates your audience from start to finish.
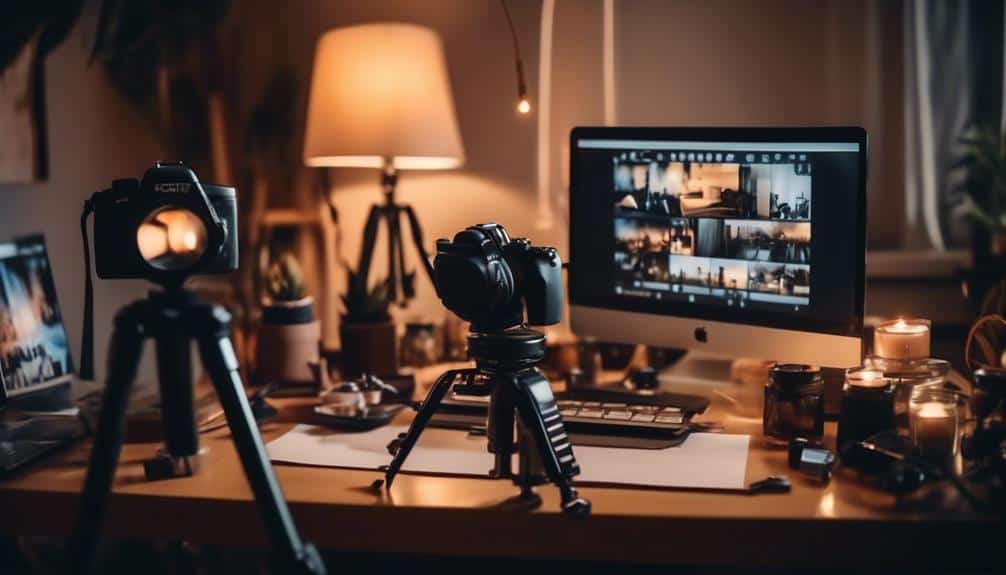
Lights and Camera Setup
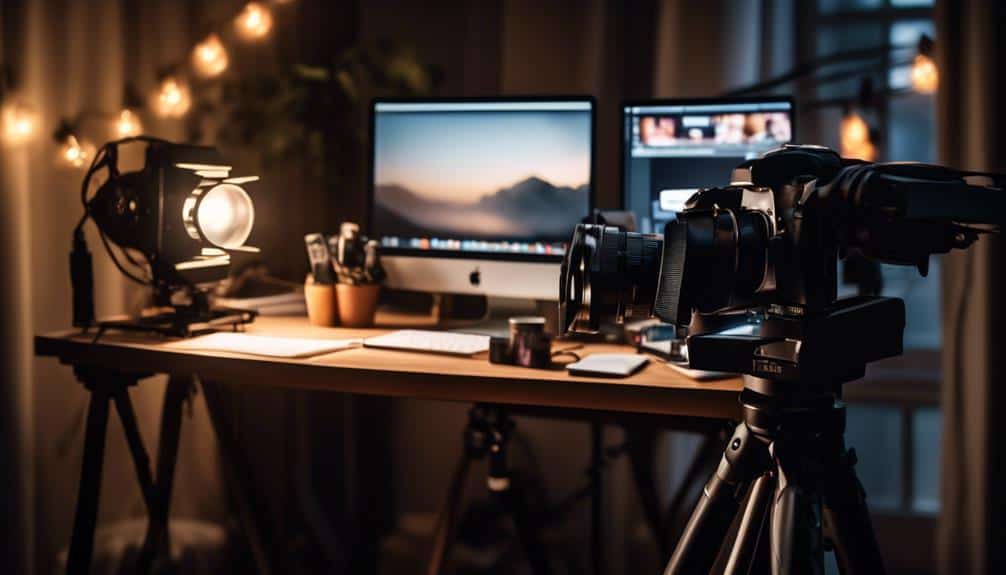
For optimal DIY video quality, ensure your lights and camera are set up correctly to capture your content in the best possible way. When setting up your lights, consider using a key light to illuminate your subject, a fill light to reduce shadows, and a backlight to add depth to your shots. Experiment with different lighting techniques to create the mood you want for your video – whether it's bright and cheerful or dark and dramatic.
When it comes to camera setup, pay attention to camera angles to make your shots more visually interesting. Try different angles like eye-level, bird's eye view, or worms-eye view to add variety to your video. Remember to keep your camera steady by using a tripod or stabilizer for smooth, professional-looking footage.
| Lighting Techniques | Camera Angles |
|---|---|
| Key Light | Eye-level |
| Fill Light | Bird's eye view |
| Backlight | Worm's-eye view |
Filming Techniques
Curious about how to elevate your DIY video production with expert filming techniques? To take your videos to the next level, mastering shot composition is key. Ensure your subject is well-framed within the shot, using techniques like the rule of thirds or leading lines to create visually appealing scenes. Experiment with different angles and perspectives to add depth and interest to your footage.
Equally important is audio quality. Viewers are quick to notice poor audio, so invest in a good microphone to capture clear sound. Reduce background noise by filming in quiet locations or using a noise-canceling microphone. Remember to monitor audio levels during filming to avoid distortion or muffled sound in your final video.
Editing Like a Pro
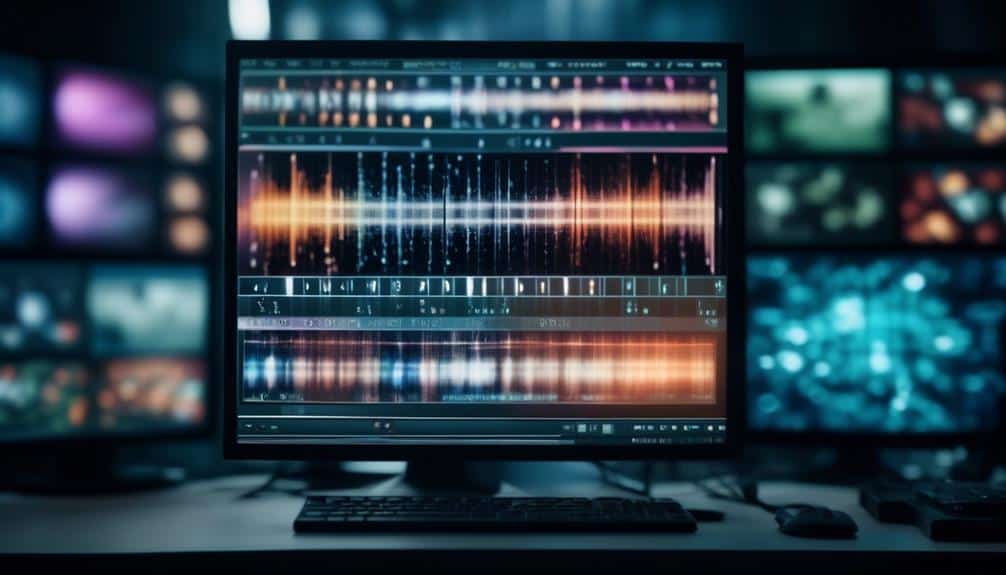
Mastering the art of editing is crucial for creating professional-looking DIY videos that captivate your audience. To edit like a pro, delve into advanced transitions to enhance the flow of your video. Experiment with cuts, fades, wipes, and other transitions to add visual interest and keep your viewers engaged throughout. Seamless transitions can elevate your video from amateur to high-quality production.
Color grading is another essential aspect of editing that can take your DIY videos to the next level. Adjusting the colors and tones in your footage can establish the mood, create consistency, and make your video visually appealing. Play around with contrast, saturation, and hues to achieve the desired look and feel for your content.
Frequently Asked Questions
How Can I Effectively Promote My DIY Videos on Social Media Platforms?
To effectively promote your DIY videos on social media platforms, focus on influencer collaborations for wider reach. Utilize video analytics to understand what resonates with your audience. Develop a hashtag strategy and target your audience strategically for maximum impact.
What Are Some Common Mistakes to Avoid When Creating DIY Videos?
When creating DIY videos, common mistakes include poor lighting, shaky camera work, and unclear audio. To improve, focus on steady shots, good lighting, and clear sound. Edit wisely, keeping it concise and engaging.
Are There Any Legal Considerations I Should Be Aware of When Using Music in My Videos?
When using music in your videos, it's essential to consider music licensing to avoid copyright infringement. Be mindful of the legalities involved and ensure you have the proper permissions or licenses to use the music.
How Can I Increase Viewer Engagement and Interaction With My DIY Videos?
To boost viewer engagement with your DIY videos, focus on audience engagement and creative storytelling. Encourage comments, ask questions, and involve viewers in your content. Use humor, suspense, and relatable narratives to captivate your audience.
What Are Some Tips for Creating Visually Appealing Thumbnails for My DIY Videos?
To create eye-catching thumbnails, focus on thumbnail design that grabs attention. Use vibrant colors, clear images, and easy-to-read text. Keep it visually appealing with high-quality visuals and intriguing compositions. Your thumbnails should entice viewers to click!
Conclusion
Now that you've got the equipment, the scene, and the know-how, it's time to bring your DIY video creation skills to life.
Remember, practice makes perfect, so keep experimenting with different filming techniques and editing styles to find what works best for you.
Lights, camera, action – you're ready to create content that will captivate your audience and showcase your creativity.
Get out there and start filming!