The Podcaster's Toolkit: Essential Equipment for Professional Recording
Imagine yourself in a quiet room, surrounded by nothing but the sound of your own voice. Now, picture that voice being captured with pristine clarity, every inflection and tone faithfully reproduced.
To achieve this level of professional recording quality, you need the right tools at your disposal. From top-tier microphones to specialized software, the world of podcasting equipment is vast and varied. But where do you begin in assembling your toolkit for creating exceptional audio content?

Stay tuned to uncover the essential equipment that can elevate your podcasting game to new heights.
Key Takeaways
- Choose cardioid microphones for optimal sound capture.
- Prioritize wireless headphones with noise cancellation for freedom of movement and accurate monitoring.
- Consider budget-friendly audio interfaces with essential features and USB compatibility.
- Invest in essential recording tools like boom arms, shock mounts, pop filters, and acoustic treatment for professional recording quality.

Microphones
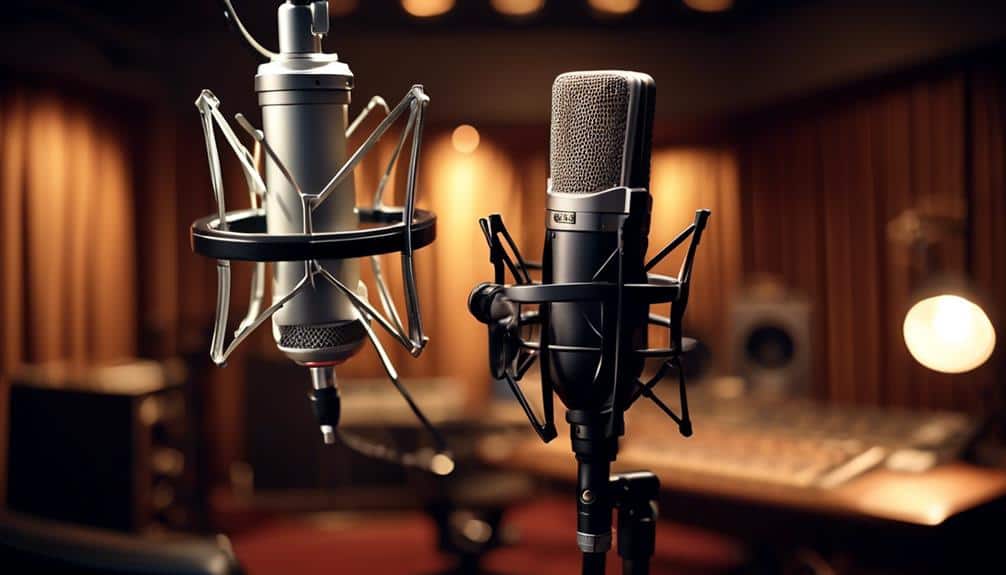
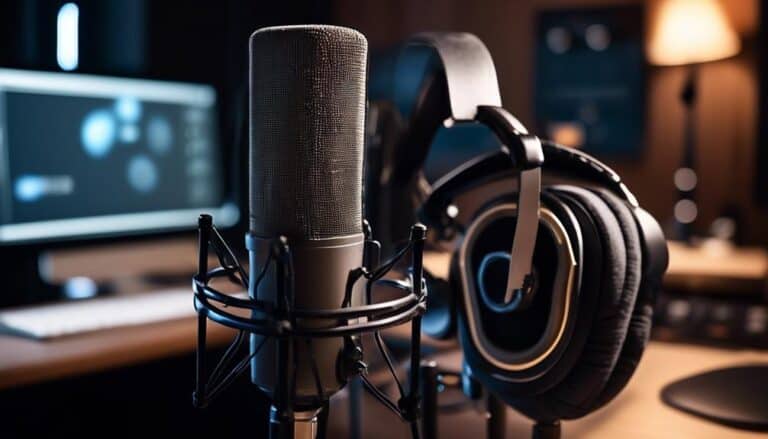
When selecting microphones for your podcasting setup, prioritize models with a cardioid polar pattern for optimal sound capture. Cardioid microphones are excellent at picking up sound directly in front of them while minimizing noise from the sides and rear. This type is ideal for recording solo podcasts or interviews where the focus is on the speaker's voice.
Consider the different microphone types available, such as dynamic, condenser, or ribbon microphones. Dynamic microphones are rugged and versatile, making them suitable for various recording environments. Condenser microphones are more sensitive and offer a wider frequency response, making them great for capturing nuanced sounds. Ribbon microphones provide a vintage sound quality and are excellent for adding warmth to vocals.
Proper microphone positioning is crucial for achieving high-quality audio recordings. Position the microphone at a distance of around 6-8 inches from your mouth to prevent plosives and sibilance. Experiment with angles and distances to find the sweet spot for optimal sound capture.
Remember to maintain your microphones regularly by using appropriate cleaning techniques to ensure longevity. Additionally, invest in essential microphone accessories like pop filters, shock mounts, and windshields to enhance your recording quality and protect your equipment.
Headphones
Selecting the right headphones is essential to ensure accurate monitoring and clear audio playback in your podcasting workflow. When considering headphones for podcasting, prioritize features like wireless options, noise cancellation, comfort, and durability. Wireless headphones provide freedom of movement, eliminating the hassle of tangled cords during recording sessions. Noise cancellation technology helps block out ambient sounds, allowing you to focus on your audio without distractions.
Comfort is key during long podcasting sessions. Look for headphones with cushioned ear cups and an adjustable headband to prevent discomfort. Additionally, durability is crucial for equipment that will be used regularly. Opt for headphones with sturdy construction that can withstand the demands of frequent use.
When selecting headphones for podcasting, remember that they aren't just for listening but also for accurate monitoring of your audio recordings. Choose headphones that offer a balanced sound profile to ensure that your podcast sounds its best. By investing in quality headphones with wireless options, noise cancellation, comfort, and durability, you can enhance your podcasting experience and produce top-notch content.
Audio Interfaces
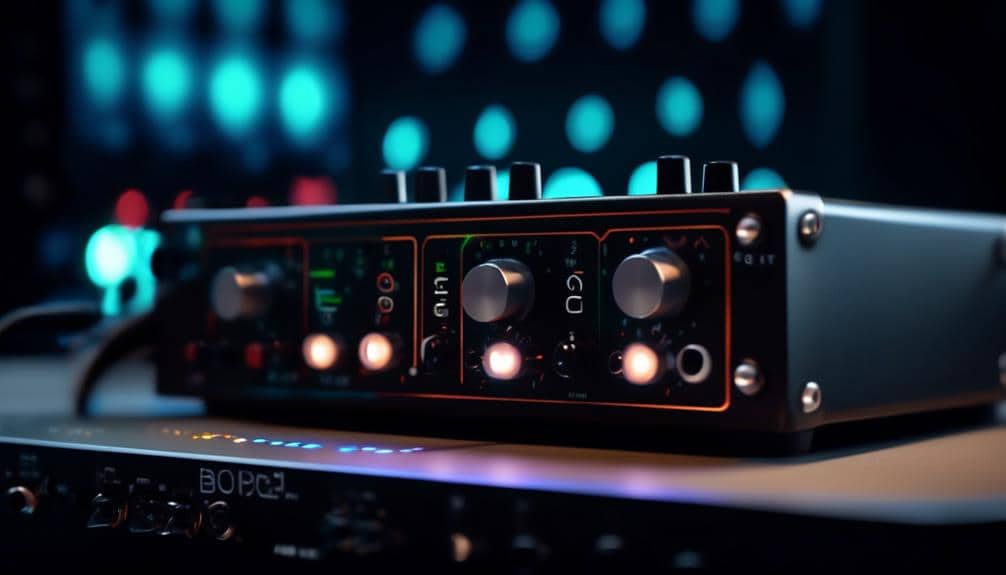
Opt for an audio interface that suits your podcasting needs by considering factors such as connectivity options, input/output channels, and compatibility with your recording setup. When selecting an audio interface, pay attention to signal processing capabilities and latency issues to ensure high-quality sound reproduction without delays. For a seamless podcasting experience, here are some key considerations to keep in mind:
- Budget-Friendly Options: Look for audio interfaces that offer good value for money without compromising on essential features. Affordable options from reputable brands can provide decent performance for beginner podcasters. USB interfaces are typically cost-effective and easy to set up, making them ideal for podcasters on a budget.
- Beginner-Friendly Features: Consider audio interfaces that are user-friendly and intuitive, especially if you're new to podcasting. Interfaces with simple controls and plug-and-play functionality can help streamline your recording process. Focus on interfaces with clear input/output indicators and straightforward connectivity options for a hassle-free setup.
Pop Filters
When setting up your recording equipment, understanding the purpose of pop filters, the various types available, and the correct placement can significantly improve the quality of your audio recordings.
Pop filters are designed to reduce plosive sounds caused by 'p' and 'b' sounds, ensuring a cleaner, clearer audio output.
Purpose of Pop Filters
To effectively reduce plosive sounds and improve the clarity of your recordings, utilize a pop filter when speaking into your microphone. Pop filters serve two main purposes:
- Preventing Plosive Sounds:
Pop filters act as a barrier, stopping bursts of air from hitting the microphone directly, thereby reducing the impact of plosive sounds like 'p' and 'b' sounds in your recordings.
- Enhancing Vocal Clarity:
Types of Pop Filters
Pop filters come in various designs and materials to cater to different recording needs and preferences. When considering pop filter materials, you'll find options like nylon, metal, and foam.
Nylon pop filters offer durability and are easy to clean, providing long-term use benefits. Metal pop filters are sturdy and can effectively reduce plosive sounds. Foam pop filters are lightweight and portable, ideal for on-the-go recording setups.
If you're looking for alternatives or DIY solutions, consider using a nylon stocking stretched over a hoop as a makeshift pop filter. This simple DIY option can help minimize plosives and improve the overall quality of your recordings. Experiment with different materials and designs to find the pop filter that best suits your recording setup.
Pop Filter Placement
For optimal results in reducing plosive sounds during recording, place the pop filter approximately two inches from the microphone.
- Pop Filter Effectiveness:
Ensure the pop filter is positioned directly in front of your mouth to capture plosive sounds effectively.
- Proper Pop Filter Distance:
Maintain a consistent distance between the pop filter and the microphone throughout the recording session to guarantee consistent sound quality.
Placing the pop filter at the correct distance enhances its effectiveness in reducing plosive sounds, allowing you to record crisp and clear audio.
Boom Arms
Position your microphone precisely and maintain optimal recording distance with the use of boom arms, essential tools for any podcaster looking to enhance audio quality. Boom arm setup is crucial for creating the perfect recording environment. By utilizing a boom arm, you can easily adjust the microphone's position to suit your needs, whether you're recording solo or with guests. This flexibility ensures that you capture clear and consistent audio throughout your podcast episodes.
Boom Arms Table:
| Features | Benefits | Compatible Microphones |
|---|---|---|
| Adjustable Height | Allows for precise positioning of the microphone | Most standard microphones |
| Rotating Base | Enables easy movement and adjustment during recordings | Condenser and dynamic microphones |
| Cable Management | Helps keep cables tidy and out of the way | USB and XLR microphones |
Boom arms are a must-have tool for podcasters seeking professional audio quality. With their ease of use and ability to optimize microphone positioning, boom arms elevate the recording experience, giving you the freedom to focus on creating engaging content.
Shock Mounts
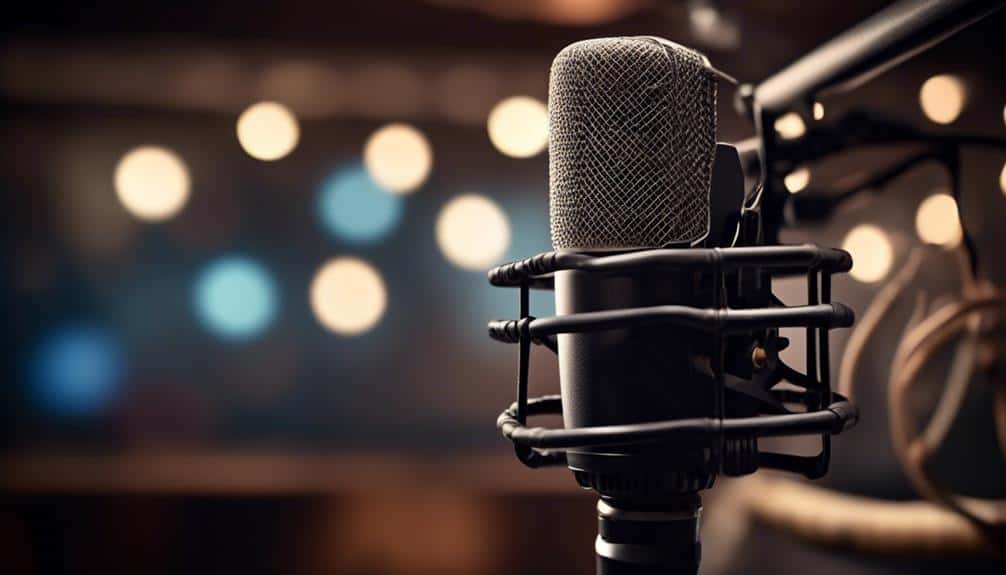
To ensure optimal audio quality and stability in your recordings, invest in a shock mount after setting up your boom arm for precise microphone positioning. A shock mount is a crucial tool that helps in sound isolation and vibration dampening, enhancing the overall quality of your podcast recordings.
Here's why a shock mount is essential for your podcasting setup:
- Sound Isolation:
- Reduces unwanted noise: A shock mount isolates the microphone from vibrations and movements, preventing disruptions in your audio recordings.
- Improves clarity: By minimizing external interference, the shock mount helps capture cleaner and more professional-sounding audio.
- Vibration Dampening:
- Stability enhancement: Vibration dampening properties of the shock mount ensure that any external vibrations or movements don't affect the microphone, allowing for consistent and clear sound.
- Professional touch: With improved stability, your recordings will have a polished and professional quality, enhancing the overall listening experience for your audience.
Recording Software
Consider selecting recording software that aligns with your podcasting needs and technical requirements to ensure efficient and high-quality audio production. When choosing recording software, focus on features like recording techniques, editing tips, sound quality, and noise reduction capabilities to enhance your podcasting experience. Here is a comparison table of popular recording software options to help you make an informed decision:
| Software | Recording Techniques | Editing Tips | Sound Quality | Noise Reduction |
|---|---|---|---|---|
| Audacity | Yes | Basic | Good | Yes |
| Adobe Audition | Advanced | Extensive | Excellent | Yes |
| GarageBand | User-Friendly | Moderate | Good | No |
| Hindenburg | Podcasting-focused | Intuitive | High | Yes |
| Logic Pro X | Professional-grade | Advanced | Outstanding | Yes |
Acoustic Treatment
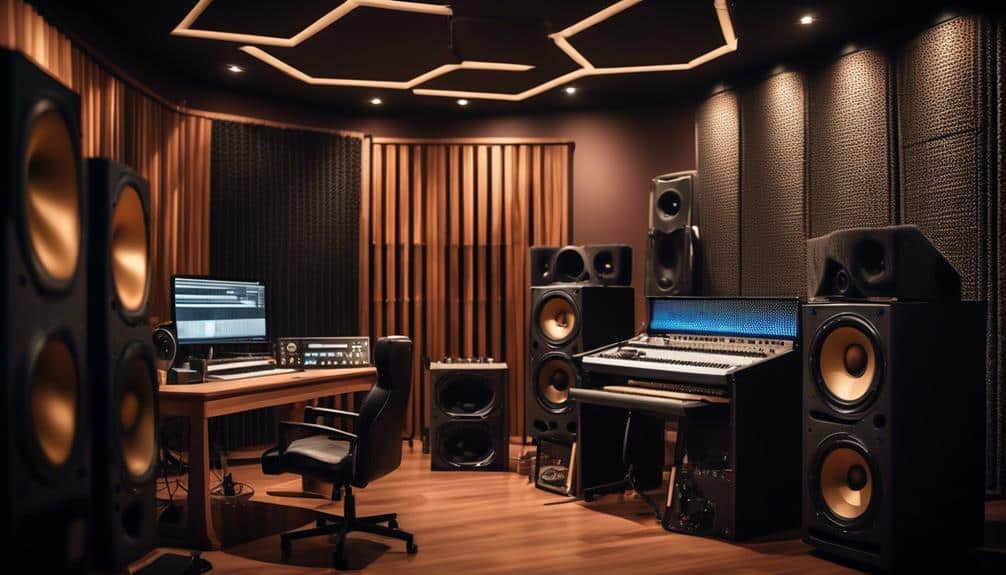
After selecting the appropriate recording software for your podcasting needs, the next crucial step is to address the importance of acoustic treatment in your recording environment. To achieve optimal sound quality, consider the following:
- Acoustic Paneling:
- Utilize acoustic panels strategically placed on walls to absorb unwanted sound reflections and improve audio clarity.
- Experiment with panel placement to find the most effective configuration for your recording space.
- Soundproofing Techniques:
- Implement soundproofing materials such as foam insulation, weatherstripping, or door sweeps to minimize external noise interference.
- Seal any gaps or cracks in windows, doors, or walls to create a more acoustically controlled environment.
Frequently Asked Questions
Can I Use a USB Microphone Instead of an XLR Microphone for Podcast Recording?
You can use a USB microphone for podcasting instead of an XLR one. While USB mics offer simplicity and portability, XLR microphones tend to provide better audio quality and versatility. Choose based on your priorities.
Do I Need a Separate Audio Interface if My Microphone Has a Built-In Preamp?
If your microphone has a built-in preamp, you might not need a separate audio interface. Check the preamp compatibility with your recording device. USB microphones offer convenience, while XLR options often deliver better sound quality and flexibility for professional recording setups.
How Can I Reduce Background Noise in My Recordings Without Using a Pop Filter?
To minimize background noise in your recordings without a pop filter, try noise reduction techniques like noise gates or software filters. You can also experiment with creative soundproofing solutions using blankets or pillows strategically placed around your recording area.
Are There Any Unique Benefits to Using a Boom Arm for Podcast Recording?
Using a boom arm for podcast recording offers numerous advantages. It allows precise microphone placement, reducing unwanted noises and improving sound quality. However, some may find boom arms cumbersome to set up and adjust.
What Are Some Common Mistakes to Avoid When Setting up Acoustic Treatment in a Home Recording Studio?
When setting up acoustic treatment in a home recording studio, ensure proper positioning of panels to target room resonance effectively. Avoid placing panels too close to walls or in corners, as this can lead to sound reflections and distortions.
Conclusion
In conclusion, equipping yourself with the right tools is crucial for professional podcast recording.
From high-quality microphones and headphones to essential accessories like pop filters and shock mounts, each piece plays a vital role in ensuring clear and crisp audio.
Investing in a reliable audio interface and recording software will further enhance your production quality.
Don't overlook the importance of acoustic treatment in creating a soundproof environment for optimal recording conditions.
Master your craft with the podcaster's toolkit at your disposal.